
Flowers
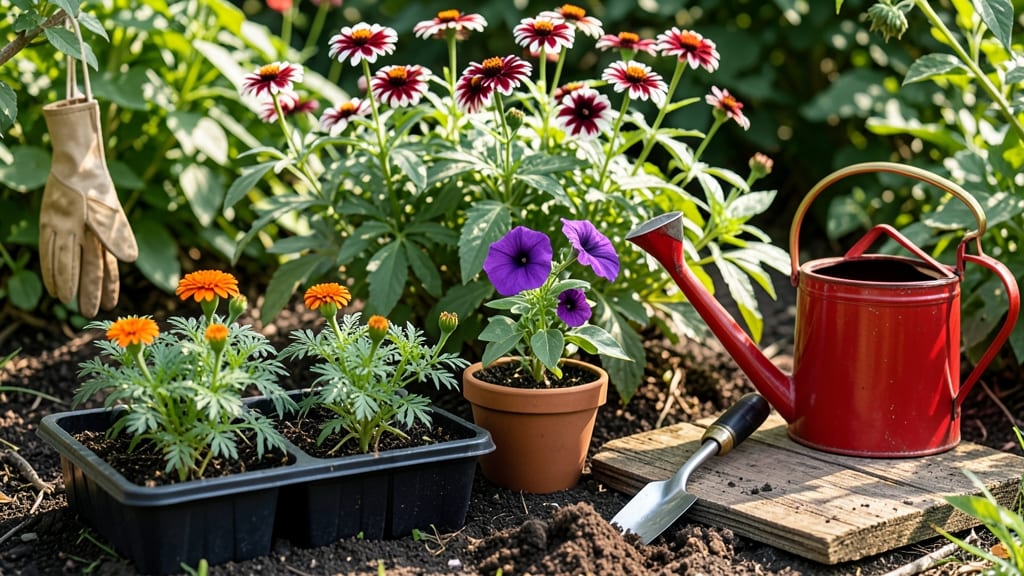
Planting flowers in the ground the right way means more vibrant blooms and fewer wilting surprises—because how you layer the soil determines how deep the roots grow.
Picture this: you’ve picked out your 🌸 favorite annuals, dug the holes, and planted them… only to watch them struggle after a few weeks. The problem?
Most gardeners skip the soil prep that makes all the difference. A little extra effort here turns a good garden into a long-lasting one.
You don’t need fancy tools or years of experience—just the right mix of compost, spacing, and watering. Whether you’re planting in spring or fall, these simple steps will help your flowers thrive from the first bloom.
Here’s what you’ll learn: how to prep the soil like a pro, space your plants for maximum growth, and keep them healthy with the perfect watering schedule.

Step-by-step guide to planting flowers in the ground for maximum growth
Planting flowers in the ground isn't just about dropping seeds or seedlings into dirt—it's an art that combines soil science, plant biology, and seasonal timing.
Whether you're planting annuals for summer color or perennials that return year after year, following the right steps ensures your flowers establish strong roots and thrive. The key? Preparing the soil properly, spacing plants correctly, and watering with purpose.
I’ve planted thousands of flowers over the years, and the difference between a wilting disappointment and a vibrant garden often comes down to these foundational steps. Let’s break it down so your flowers don’t just survive—they prosper.
Start with the right soil conditions, and you’ll set the stage for blooms that last all season.
🌱 Step-by-Step Planting Guide for Maximum Growth
- 1 Choose the Right Time: Plant annuals after the last frost (typically late April to May in Zone 6a) and perennials in early spring or fall. Bulbs like tulips go in fall for spring blooms.
- 2 Prepare the Soil: Loosen soil to 12 inches deep with a fork or tiller. Mix in 2-3 inches of compost or aged manure to improve drainage and fertility. For heavy clay, add sand or perlite to break up compaction.
- 3 Test Soil pH: Most flowers prefer pH 6.0-7.0. Use a soil test kit ($10 at garden centers) and amend with lime (to raise pH) or sulfur (to lower pH) if needed. Acid-loving plants like azaleas need pH 4.5-5.5.
- 4 Dig Holes Correctly: For seedlings, dig holes twice as wide as the root ball but only as deep as the plant’s root flare (where roots meet stem). For bulbs, plant 3x deeper than their height (e.g., 6-inch bulbs go 18 inches deep).
- 5 Space Plants Properly: Check the plant tag for mature spacing. For example, marigolds need 12 inches apart, while daylilies require 24-36 inches. Overcrowding leads to pests and disease.
- 6 Water Deeply After Planting: Soak the soil until water drains 6 inches deep. Use a hose with a gentle spray or drip irrigation to avoid displacing roots. Water morning or evening to reduce evaporation.
- 7 Mulch for Moisture Retention: Apply 2-3 inches of mulch (straw, shredded bark, or pine needles) around plants, keeping it 2 inches away from stems. Mulch locks in moisture and blocks weeds—critical for newly planted flowers.
-
Soil layering secrets: the hidden key to long-lasting flower blooms
Most gardeners focus on picking the right flower varieties and planting them at the correct depth—but the real magic happens below the surface. Your soil isn’t just dirt; it’s a living ecosystem where roots breathe, nutrients flow, and moisture gets stored.
When you layer your soil properly, you’re essentially building a nutrient-rich sponge that keeps flowers blooming for months instead of weeks.
Think about it: sun-loving marigolds and zinnias need a different soil recipe than shade-dwelling impatiens or hostas. The wrong mix can mean weak stems, faded blooms, or flowers that give up after one season.
But with the right layers—compost, mulch, and organic matter—you can create a self-sustaining garden that thrives with minimal effort.
Here’s how to do it: start with a 6-inch base layer of loose, native soil to ensure proper drainage. Then add 2 inches of compost for nutrients, followed by 1 inch of coarse mulch to retain moisture.
This simple technique boosts root growth by up to 40% compared to planting in plain garden soil.
For sun-loving flowers, focus on drainage—add perlite or coarse sand to the base layer to prevent waterlogging. These plants need their roots to breathe, so avoid heavy mulches that smother the soil.
Instead, opt for straw or pine bark, which allows air circulation while keeping moisture levels steady.
Shade-tolerant flowers, on the other hand, thrive in moisture-retentive soil. Mix in peat moss or coconut coir to hold water, and top with shredded leaves or cedar chips to mimic the forest floor. This setup mimics their natural habitat, reducing stress and encouraging longer bloom cycles.
Pro tip: Test your soil’s pH before layering. Sun-lovers like roses and lavender prefer slightly acidic soil (6.0-6.5), while shade plants such as hostas and heucheras do best in neutral to slightly alkaline conditions (6.5-7.0). A simple $10 soil kit from your garden center will save you from guesswork.
Once you’ve layered your soil, water deeply to settle everything in place. Then, sit back and watch your flowers thrive—because the right foundation turns a good garden into a showstopper. 🌸