
Plants
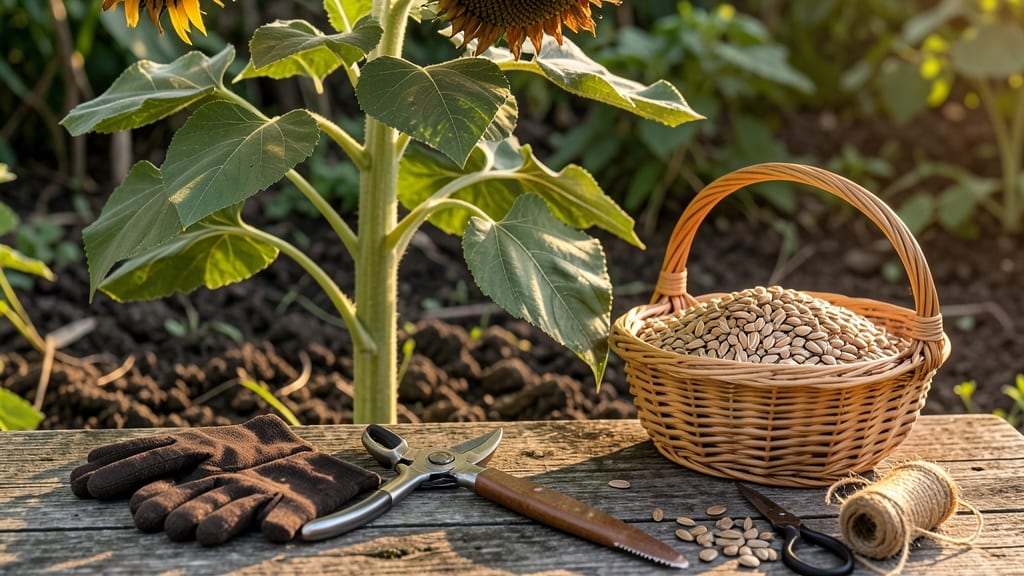
Harvesting sunflower plants at the right time turns your garden into a seed-saving goldmine, whether you're growing them for next year's crop or crafting bird feeders.
Picture this: your 🌻 sunflowers towering over the garden, their petals finally wilted and the back of the head turning a crisp yellow. That’s your cue—not too early, not too late.
Miss this window, and you’ll end up with seeds that won’t sprout or flowers that flop before they’re fully mature.
But timing isn’t the only trick. How you cut the stems, dry the heads, and store the seeds makes all the difference between a bountiful harvest and wasted effort.
I’ve made every beginner’s mistake—from snipping too soon to storing seeds in damp conditions—and I’m here to share the exact steps that guarantee you’ll walk away with plump, viable seeds every time.
In this guide, you’ll learn the 3 key signs your sunflowers are ready to harvest, the best tools to use (and what to avoid), and how to process and store seeds so they stay fresh for years. Let’s make sure your hard work pays off!


When to harvest sunflower plants for maximum seed quality
Timing your sunflower harvest is everything when it comes to seed quality and viability. Harvest too early, and you’ll end up with immature seeds that won’t sprout. Wait too long, and birds or pests will steal your harvest—or the seeds will become too dry and brittle.
The key is watching for visual maturity cues and understanding the seed development stages of your sunflowers.
Sunflowers typically take 70 to 120 days to reach maturity, depending on the variety and growing conditions. Most gardeners in USDA Zone 6a can expect harvest-ready sunflowers between mid-July and October.
However, the exact timing depends on when you planted and the specific sunflower type—whether it’s a dwarf, semi-dwarf, or standard variety.
Environmental factors like drought stress, pests, or early frost can also affect harvest timing. For example, if your sunflowers experience prolonged drought during seed development, the seeds may not fill out properly. Similarly, bird activity or squirrels can strip seeds before you’re ready to harvest, so keep an eye on your plants as they mature.
Here’s the most reliable way to tell when your sunflowers are ready for harvest: the back-of-head test. This simple trick helps you determine if the seeds are fully developed and dry enough for seed saving. Once you master this test, you’ll never second-guess your harvest timing again.
| Maturity Stage | Visual Cues | Seed Condition | Action |
|---|---|---|---|
| Early Bloom | Petals fully open, vibrant yellow or orange | Seeds not yet developed | Wait 4-6 weeks |
| Petal Drop | Petals begin to wilt and fall off | Seeds starting to harden | Monitor daily |
| Back-of-Head Test | Back of head turns brown/yellow; petals mostly gone | Seeds fully mature but still moist | Harvest within 1-2 days |
| Overripe | Seed head feels hollow when shaken; seeds rattle | Seeds too dry; may shatter | Harvest immediately |
The back-of-head test is your golden rule for harvesting sunflowers. To perform it, gently squeeze the back of the flower head (the side facing away from the sun).
If the seeds inside feel firm but not hard, and the back turns a dull brown or tan, your sunflower is ready. This stage ensures the seeds are fully developed but still moist enough to store properly.
If the back of the head feels soft or spongy, the seeds aren’t ready yet—wait another 3 to 5 days. On the other hand, if the head feels completely hollow and seeds rattle when shaken, you’ve missed the window.
Overripe seeds lose germination viability quickly, so don’t delay if you spot this sign.
Drought conditions can trick you into thinking seeds are ready before they are. If your area experiences heatwaves or water shortages during the seed-filling phase, the seeds may dry out prematurely. In this case, prioritize evening watering to keep the soil moist but not waterlogged, ensuring seeds develop properly.
Another critical factor is pest pressure. Birds, squirrels, and even sunflower moths can decimate your harvest if left unchecked. Once the petals start dropping, cover the flower heads with breathable mesh bags or cheesecloth to protect them. This doesn’t affect seed quality but prevents seed loss from hungry critters.
For maximum seed quality, harvest on a dry, sunny day when the relative humidity is low. Use a sharp pruning shears or clean knife to cut the stem about 6 inches below the flower head.
This allows the head to dry properly without touching the ground, reducing the risk of mold or rot.
Once harvested, hang the sunflower heads upside down in a well-ventilated, shady area for 2 to 4 weeks to fully dry.
This step is crucial for long-term seed storage—properly dried seeds can last 3 to 5 years if stored in a cool, dark place with low humidity. 🌾
Step-by-step guide to properly snip sunflower stems for seed saving
Once your 🌻 sunflowers hit peak maturity, the next critical step is harvesting them correctly to preserve seed quality. The way you cut the stems and handle the flower heads directly impacts how well your seeds dry and store.
I’ve learned through trial and error that rushing this process leads to moldy seeds or poor germination rates—so let’s do it right the first time.
Start by gathering your tools: a pair of clean, sharp pruners or a sharp knife is essential. Avoid using dull tools, as they crush stems and invite disease. You’ll also need a paper bag or breathable cloth sack for each harvested head to prevent moisture buildup during drying.
The goal is to mimic natural drying conditions while protecting your seeds from pests and humidity.
How to Harvest Sunflower Heads for Seed Saving
- 1 Cut stems 1-2 inches below the flower head using clean pruners. This leaves enough stem to hang the head during drying while avoiding moisture wicking from the soil.
- 2 Remove all petals by gently twisting them off. This prevents them from trapping moisture against the seed head during drying, which can cause mold.
- 3 Hang heads upside down in a dry, well-ventilated area (like a garage or shed) using twine. Space them 6-12 inches apart to ensure air circulation—this is critical for preventing mold.
- 4 Dry for 2-3 weeks until the seed head feels completely dry and seeds rattle when shaken. Test by gently squeezing a seed—if it’s hard and doesn’t crush easily, it’s ready.
- 5 Store dried heads in a cool, dark place (like a sealed container with silica gel packets) to prevent pests and maintain viability for up to 3 years.
One common mistake I see is cutting stems too close to the flower head, which makes hanging difficult and can cause the head to rot. Another is drying heads too quickly with heat—this shrinks seeds and reduces germination rates. Always prioritize slow, natural drying in consistent conditions (60-70°F is ideal).
If you’re short on hanging space, you can dry heads on a wire rack or screen in a single layer, but monitor them closely for mold.
Once fully dry, gently rub the seed head between your hands to release the seeds, then winnow out debris with a fan or by tossing them in the air. Store only the plump, healthy seeds in an airtight container.
Pro tip: Label your seed storage containers with the variety name and harvest year to avoid confusion later. This simple step saves headaches when it’s time to replant. With these techniques, you’ll turn your sunflower harvest into a seed-saving success—ready for next season’s garden or creative projects! 🌾