
How To
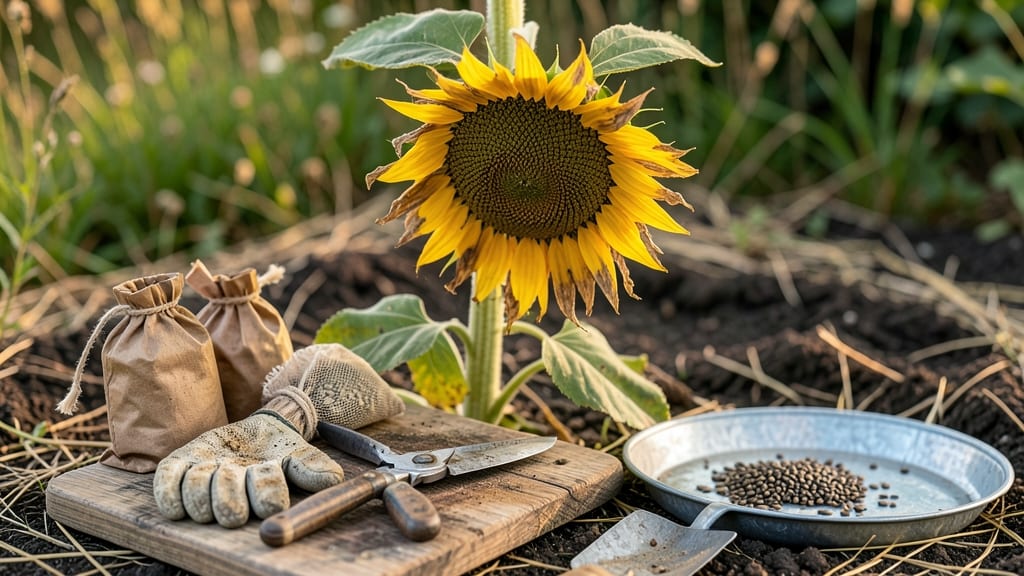
Knowing when sunflower seeds are ready to harvest means spotting three key signs that transform a green head into a treasure trove of edible seeds 🌻.
Picture this: you’ve nurtured your sunflowers all season, and now the moment of truth arrives. One wrong move, and you’ll either end up with bitter seeds or miss the harvest entirely. The good news? You don’t need a degree in botany—just a sharp eye and a little patience.
First, watch for the back of the seed head turning from green to a rich yellow-brown. Next, the petals will droop or fall away, signaling it’s time to act. Finally, give the head a gentle shake—if the seeds rattle inside, they’re ready.
Below, I’ll walk you through these three foolproof cues, plus how to avoid common mistakes that turn your harvest into a bust. By the end, you’ll never second-guess when to pick your sunflowers again.


3 Visual cues that sunflower seeds are ready for harvest
Harvesting sunflower seeds at the right moment transforms your garden into a treasure trove of edible goodies. But how do you know when those seeds are perfectly ripe? The key lies in three visual cues that tell you your sunflowers are ready to be picked.
Ignore these signs, and you might end up with green, unripe seeds or overripe, moldy ones—neither of which is ideal for eating or saving. Let’s break down what to look for to ensure you harvest at peak maturity.
First, pay attention to the seed head color. When sunflowers are ready for harvest, the back of the head—where the seeds are—turns from green to a golden-yellow or tan. This color shift is your first green light that the seeds inside are maturing.
If the back remains green, the seeds are still developing and need more time. This simple color change is often the easiest way to gauge readiness without any tools or guesswork.
Next, observe the petals. As your sunflowers mature, their petals will begin to droop or fall off. This isn’t just a sign of aging—it’s nature’s way of telling you the plant has redirected its energy to seed production.
If the petals are still bright and fully open, the seeds inside aren’t ready yet. Keep an eye out for this change, as it often coincides with the color shift on the back of the head.
- 1. Back of Head Color: Look for a golden-yellow or tan back, not green. This indicates mature seeds inside.
- 2. Petal Behavior: Petals should be drooping or fallen. Bright, open petals mean seeds aren’t ready.
- 3. Seed Head Texture: The back of the head should feel dry and papery. A damp or leathery texture means more time is needed.
Don’t overlook the texture of the seed head. When your sunflowers are ready, the back of the head will feel dry and papery, almost like crumpled paper.
If you run your fingers along it and it feels damp or leathery, the seeds inside are still too moist and need more time to dry on the plant. This tactile check is especially useful on cloudy days when color cues might be less obvious.
One common mistake is assuming all sunflowers ripen at the same time. In reality, different varieties mature at different rates, and even within the same plant, some seeds may ripen faster than others.
To avoid missing the window, harvest the outermost seeds first and leave the center seeds on the plant a little longer if needed. This staggered approach ensures you don’t lose any seeds to overripening or pests.
Timing is everything when it comes to sunflower seeds. If you harvest too early, the seeds will be green and bitter, while harvesting too late can lead to moldy or shriveled seeds.
Paying attention to these three visual cues—color, petal behavior, and texture—will help you nail the perfect harvest window. Once you’ve confirmed readiness, it’s time to gently twist the seed head off the stem and prepare for drying.
Remember, environmental factors like humidity and temperature can also affect ripening. In humid climates, seeds may take longer to dry on the plant, while dry, sunny conditions speed up the process.
Keep an eye on the forecast—if frost is predicted before your seeds are ready, you may need to harvest earlier and dry them indoors to preserve their quality.
Finally, once you’ve harvested, store your seeds in a cool, dry place to prevent mold and maintain their viability. Proper storage ensures you can enjoy your homegrown sunflower seeds for months to come—or even save them for next year’s garden.
With these visual cues in mind, you’ll never miss the perfect moment to harvest again!
Now that you know what to look for, head to your garden and start checking those sunflowers. The right seeds are waiting for you—just follow the signs! 🌻
How to test sunflower seed ripeness: the squeeze and tap method
Visual cues like yellow-brown seed heads and drooping petals are great—but sometimes you need to go beyond what you see. That’s where the squeeze test and tap test come in.
These tactile methods help you confirm ripeness when visual signs are ambiguous, especially in cloudy weather or for varietal differences. I’ve used these tricks for years to avoid harvesting seeds that are either too green or already overripe.
Start with the squeeze test, which checks the seed head firmness. A ripe sunflower head should feel dry and papery when gently squeezed between your thumb and forefinger.
If it gives slightly or feels slightly soft, the seeds likely need more time. This test works best on mature heads where the back has already turned yellow.
- 1 Perform the Squeeze Test: Gently squeeze the back of the seed head. It should feel dry and papery, not soft or spongy.
- 2 Check for Hollow Sounds: Tap the seed head lightly with your knuckles. A ripe head will sound hollow and echoey, like a drum.
- 3 Verify Seed Firmness: Open the seed head and press a seed between your fingers. It should feel hard and dry, not soft or sticky.
- 4 Adjust for Weather: If humidity is high, seeds may take longer to dry. Harvest slightly earlier in dry, sunny conditions for best results.
If your seeds fail the squeeze test but the head looks ripe, they’re likely underripe. Leave them on the plant for another 3-5 days and retest.
On the flip side, if the head feels crunchy or hollow but the seeds inside are still soft, you’ve missed the window—they’re overripe and may not store well.
For large sunflower varieties, like Mammoth or Russian Giant, the tap test is especially useful. Hold the head upside down over a paper bag and give it a firm tap. If seeds rain down easily, they’re ready.
If they cling to the head, wait a few more days. This method also helps you avoid bird damage by harvesting before pests get to them.
Once you’ve confirmed ripeness, harvest on a dry, sunny day to prevent mold. Cut the seed head with 2-3 inches of stem attached, then hang it upside down in a well-ventilated, dry location for 1-2 weeks to fully dry.
Store seeds in a cool, dark place in an airtight container for up to 6 months.
Pro tip: If you’re growing sunflowers for birdseed, you can leave some heads on the plant longer—they’ll dry naturally and attract wildlife. But for edible seeds, timing is everything.
These tactile tests take the guesswork out of harvest day, ensuring you get the most out of your sunflower bounty. 🌻