
Mower
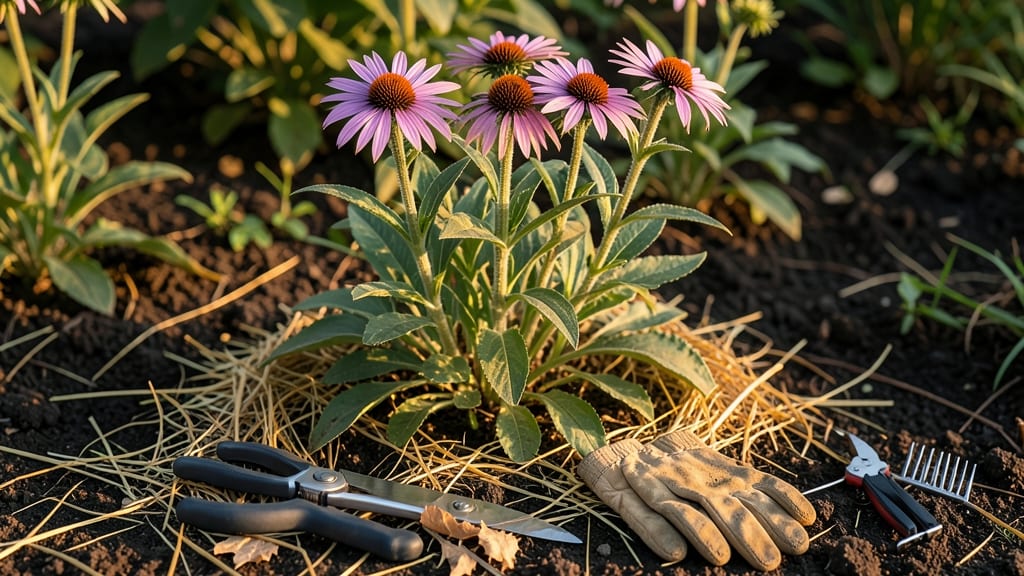
Winterizing coneflowers properly keeps these hardy perennials thriving through frost and ensures stunning blooms next summer.
Picture this: You’ve spent months admiring your 🌼 coneflower patches, but without the right prep, winter can leave them weak or worse—vulnerable to rot or pests. The key? Timing, cutting back correctly, and insulating those roots before the ground freezes.
Most gardeners wait until late fall to trim back foliage, but Zone 6a growers should act by mid-October to avoid early frosts. A thick layer of mulch acts like a cozy blanket, while skipping it can mean stunted growth or no flowers at all in spring.
Below, I’ll walk you through 3 simple steps—when to cut, how to mulch, and extra tricks for harsh winters—to keep your coneflowers healthy and ready to burst into color by next July.
When and how to properly cut back coneflowers before winter
Coneflowers (Echinacea) are tough perennials that reward you with stunning blooms year after year—but only if you winterize them correctly. Cutting back at the wrong time or using improper techniques can leave them vulnerable to frost damage or fungal diseases.
The key is timing: prune too early, and you risk exposing roots; wait too long, and frost can harm the plant. Let’s break down the perfect timing and step-by-step method to ensure your coneflowers bounce back stronger in spring.
Most gardeners make one of two mistakes: cutting back too aggressively in early fall or leaving the dead foliage until late winter. Both approaches can backfire. Coneflowers need time to harden off before winter, but they also benefit from a clean slate to prevent pests and disease.
The ideal window is late fall, after the first hard frost but before the ground freezes solid. This gives your plants just enough time to recover from dormancy while removing spent growth that could harbor pathogens.
- 📅 Choose the right time: Wait until after the first hard frost (typically October-November in most zones) when foliage has browned but the ground isn’t frozen. In Zone 5 or colder, aim for late November.
- ✂️ Gather your tools: Use clean, sharp pruners or bypass shears (disinfect with rubbing alcohol to prevent disease spread). Wear gloves to protect your hands.
- 🌿 Cut back strategically: Remove dead or diseased foliage first. Then, trim the remaining stems down to 3-4 inches above the soil line. Avoid cutting into woody stems—this can damage the plant’s crown.
- 🌱 Leave some foliage (optional): If your climate has mild winters (Zone 7+), you can leave 2-3 inches of stems to provide extra insulation. In harsh winters, cut closer to the ground.
- 🌡️ Check for frost sensitivity: If your area experiences freeze-thaw cycles, mulch immediately after pruning to protect roots from temperature fluctuations.
- 🚫 Avoid these mistakes: Never prune in early fall (stimulates new growth that won’t harden off) or leave heavily diseased foliage (risks spreading powdery mildew).
When you’re ready to prune, start by removing all dead or diseased stems first. These can harbor fungal spores like powdery mildew, which thrive in damp, cold conditions. Next, focus on the healthy stems.
Use your pruners to make a clean cut at a 45-degree angle about 3-4 inches above the soil line. This height allows the plant to recover quickly in spring while protecting the crown from frost.
For gardeners in warmer climates (Zones 8-10), timing is less critical, but you can prune throughout winter if needed. However, in colder zones (Zones 3-6), act quickly after the first frost to prevent frost damage.
If you’re unsure whether your area has experienced a hard frost, check the USDA Plant Hardiness Zone Map and monitor local weather forecasts. A general rule is to wait until nighttime temperatures consistently drop below 32°F.
After pruning, disinfect your tools again to prevent cross-contamination. Wipe down blades with rubbing alcohol or a 10% bleach solution (mix 1 part bleach with 9 parts water). This step is crucial if you’ve been pruning multiple plants, as bacterial or fungal pathogens can spread easily.
Store your tools in a dry place to prevent rusting over winter.
One common question is whether to leave seed heads over winter for wildlife. While coneflower seed heads provide food for birds, they can also attract pests like squirrels or rodents. If you’re concerned about animal damage, remove the seed heads but leave the stems intact until after pruning.
For most gardeners, the benefits of pruning outweigh the risks, especially if you’re in a high-disease-area.
Finally, mulch immediately after pruning to lock in moisture and insulate roots. Use 2-3 inches of organic mulch, like shredded leaves or straw, and keep it 6 inches away from the plant’s base to prevent rot.
In extremely cold climates, consider adding a light layer of pine needles for extra insulation. This step is non-negotiable for first-year coneflowers, which have shallower root systems.
With proper pruning and timing, your coneflowers will rebound vigorously in spring, often producing even more blooms than the year before. The key is patience and precision—don’t rush the process, and always prioritize root health over aesthetics.
Next time, we’ll dive into the best mulching methods to keep your coneflowers cozy all winter long! 🌼
Best mulching methods to insulate coneflower roots over winter
Mulching is the secret weapon for protecting your 🌼 coneflowers during winter’s freeze-thaw cycles. A proper layer acts like insulation, keeping roots 5-10°F warmer than ambient soil temperatures. Without it, roots can heave out of the ground or suffer frost damage, leading to weak or no blooms next season.
Your choice of mulch—organic or inorganic—depends on your climate and soil type. Organic mulches like straw or shredded leaves break down over time, enriching the soil, while inorganic options like gravel or landscape fabric last longer but don’t improve soil fertility.
For Zone 6a gardens, I recommend a 3-4 inch layer of organic mulch applied after the first frost.
Here’s how the top mulching methods compare for winterizing coneflowers:
| Mulch Type | Best For | Layer Thickness | Pros | Cons |
|---|---|---|---|---|
| Shredded Leaves | Cold climates, well-draining soil | 3-4 inches | Breaks down slowly, adds nutrients | Can compact if too wet |
| Straw | All climates, heavy soils | 4-6 inches | Excellent insulation, lightweight | May blow away in wind |
| Pine Straw | Acidic soils, mild winters | 2-3 inches | Resists compaction, slow to decompose | Can acidify soil over time |
| Gravel | Dry climates, rocky soil | 2-3 inches | Long-lasting, improves drainage | No soil enrichment |
| Wood Chips | Moist climates, heavy soils | 3-4 inches | Long-lasting, improves soil | Can harbor pests if untreated |
For cold climates like Zone 6a, I layer straw over wood chips to balance insulation and soil health. In mild winters, a single 3-inch layer of pine straw suffices. Always keep mulch 2-3 inches away from the plant stem to prevent rot.
Apply mulch after the first hard frost but before the ground freezes solid. In Zone 6a, that’s typically mid-to-late November. Remove it in early spring once new growth appears to avoid smothering tender shoots.
Pro tip: Water the soil thoroughly before mulching to lock in moisture. This double protection keeps roots hydrated through winter’s dry spells and ensures your coneflowers wake up ready to bloom by July.