
How To
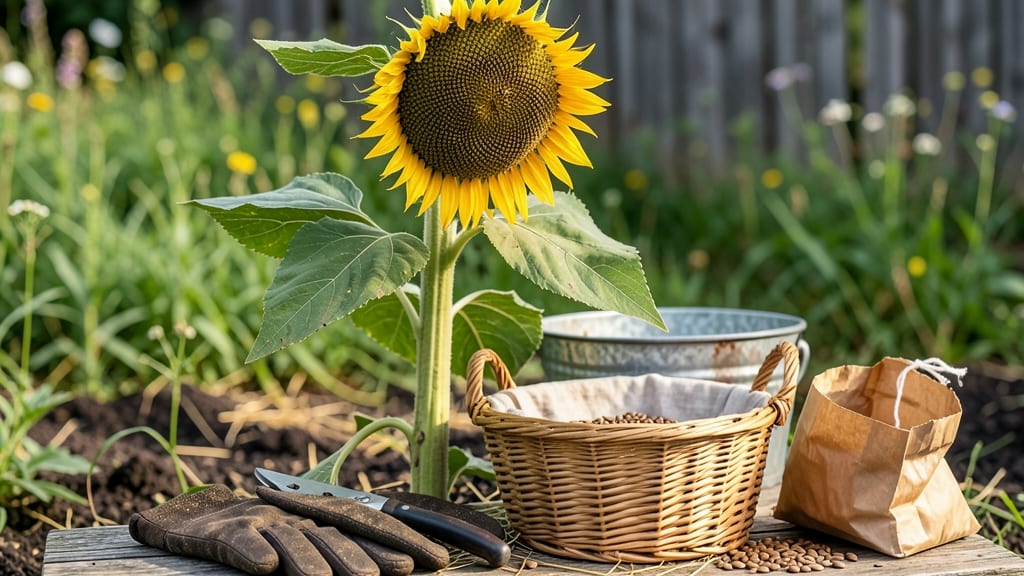
Sunflower seeds are ready to pick when the back of the flower head turns yellow-brown and the petals drop off naturally 🌻 — timing this perfectly ensures the best flavor and storage life.
Picture this: you’ve spent months watching your towering 🌻 sunflowers grow, only to wonder if those seeds are finally ready. One wrong move, and you could end up with bitter, underripe seeds—or worse, a missed harvest entirely.
Here’s the secret: pay attention to three simple visual cues. First, the petals should fall away completely, leaving the seed head exposed. Second, the back of the head turns from green to a dry, papery yellow-brown. Finally, give it a gentle shake—if the seeds rattle inside, they’re ready to go.
In this guide, I’ll walk you through these three key signs, plus the best time of day to harvest and how to store your seeds for long-term use. No more guesswork—just a foolproof way to enjoy your homegrown sunflower bounty.


3 Key visual cues to identify perfectly ripe sunflower seeds
Harvesting sunflower seeds at the right time transforms them from bitter, green morsels to rich, nutritious treats. The key lies in observing three critical visual cues that signal peak ripeness.
Ignoring these signs often leads to seeds that sprout prematurely or develop mold—so pay close attention to what your sunflower is telling you.
First, focus on the petal color. When sunflowers are ready for harvest, their vibrant yellow or orange petals will naturally wilt and fall off. This isn’t just a cosmetic change; it’s a biological signal that the plant has redirected its energy to seed development.
If petals remain attached or only partially dropped, your seeds aren’t ready yet.
Next, examine the back of the seed head. At maturity, this area transitions from green to a dry, yellow-brown hue. This color shift indicates the seeds inside have fully matured and are now safe to harvest.
A green back means the seeds are still developing and may not store well.
Finally, check the texture of the seed head. When ripe, the head should feel dry and papery, almost brittle to the touch. Gently shake it—if seeds rattle inside, that’s your green light. A moist or spongy head means the seeds need more time to dry on the plant.
Why these cues matter: Harvesting too early results in seeds that won’t store well, while waiting too long risks birds or animals feasting on your hard-earned crop. Mastering these visual signals ensures you reap the rewards of your gardening efforts.
Pro tip: Use a small pruning shears to snip the stem about 6 inches below the seed head. This leaves room for drying without risking the head falling apart.
Hang the cut heads upside down in a dry, well-ventilated area (like a garage or shed) for 1-2 weeks to complete the drying process.
Timing is everything with sunflowers. If you harvest too early, the seeds will be hard and bitter, while waiting too long risks bird damage or mold.
By mastering these three visual cues—petal drop, color change, and texture—you’ll consistently harvest seeds at their peak, ready for roasting, planting, or storing for next year’s garden.
For extra peace of mind, test a few seeds by cracking one open. If the inside is dry and fully colored, your entire head is ready.
If it’s still green or damp, give it another week. This simple check saves time and ensures you’re always harvesting at the perfect moment.
Remember, sunflowers are annuals, so their entire life cycle—from seed to seed—happens in just one season. Don’t miss your window! Once the seed heads turn brown and brittle, they’ll start to disintegrate, leaving you with nothing but memories of what could have been.
How to test sunflower seed ripeness: the 3-Step physical check
Once your sunflower heads show visual signs of ripeness, it’s time for hands-on testing. These physical checks confirm whether your seeds are truly ready for harvest—or still need time to mature.
The twist test, seed shell hardness, and moisture content are your best tools for accuracy. Here’s how to perform each step like a pro.
Start with the twist test, the simplest way to gauge seed readiness. Gently grasp the flower head stem near the base and twist firmly. If the head detaches cleanly with minimal resistance, your seeds are likely ripe.
However, if the stem snaps easily or the head resists, it’s not ready yet. This test works best on dry, sunny days when moisture isn’t affecting the stem’s flexibility.
🌾 The 3-Step Physical Ripeness Check
- 1. Twist Test: Twist the stem near the base—if the head detaches easily, seeds are ready.
- 2. Seed Shell Hardness: Press a seed between your fingers—it should feel hard and dry, not soft or moist.
- 3. Moisture Content: Cut open a seed—if it’s dry and crumbly inside, it’s harvest-ready.
Next, examine the seed shell hardness. Use your thumb and forefinger to gently press a seed from the flower head’s center. A ripe seed will feel firm and dry, almost like a small stone. If it’s soft or squishy, it’s still maturing.
This step is crucial for avoiding green seeds, which can be bitter and underdeveloped. Pay special attention to seeds near the outer edges of the head, as they often ripen slightly later.
Finally, check the moisture content by cutting open a seed with a sharp knife. A ripe seed will reveal a dry, papery interior with no visible moisture. If the seed feels damp or sticky, it’s not ready—wait 3-5 more days before retesting.
Overripe seeds can shatter or fall out of the head, so timing is everything. This final check ensures you’re harvesting seeds at their peak nutritional value and storage potential.
Common mistakes include harvesting seeds too early (based on petal drop alone) or too late (when they’ve already fallen to the ground). To avoid these pitfalls, combine all three tests and harvest on a dry morning after dew has evaporated.
Store your seeds in a cool, dry place for up to a year, or roast them fresh for a delicious snack. With these steps, you’ll never second-guess your sunflower harvest again!